AI-Enhanced Product Design Workflow


Generative AI is transforming product design by enabling rapid ideation, visualization, and iteration. Modern tools allow designers to automate prototyping, explore more creative variations, and collaborate seamlessly, accelerating time-to-market and boosting innovation. Instead of treating AI output as a finished result, visionary teams treat it as “creative clay” – a starting point to be refined. This guide presents a step-by-step workflow for professional designers, using five AI tools in concert. We’ll structure our process in Weavy, brainstorm with Reve, generate product renders in Midjourney, composite them into scenes with Nano Banana 2, and finally upscale with Magnific. We’ll explain each tool’s role, share best practices, and explore applications beyond jewelry (e.g. fashion accessories, gadgets, home decor), complete with examples and tips.
Tools Overview
Weavy (Workflow Builder): A node-based platform (now integrated into Figma as Figma Weave) for structuring collaborative AI workflows. Designers create a flowchart of interconnected steps (nodes) that link prompts, models, and edits. This provides visibility and versioning for iterative design processes.
Reve (Product Ideation): An AI assistant for concept generation. It produces high-quality images from detailed prompts, excelling at following instructions. We use Reve to rapidly explore innovative product concepts and variations early on.
Midjourney (Editorial Imagery): A leading text-to-image model for creating stylized product visuals. By crafting photography-style prompts (lighting, angles, colors), designers can generate realistic or artistic renders of the product. Midjourney turns conceptual ideas into polished mockups.
Nano Banana 2 (Product Placement): An advanced image editor for compositing products into scenes. With natural-language image editing, it can place or replace objects (our product) in real photos while preserving realism. This lets designers visualize products in contextual environments (e.g. a handbag on a shelf, a lamp in a living room). The Pro version supports blending multiple inputs consistently.
Magnific (Upscaler): A generative upscaling tool to enhance resolution and detail. It intelligently enlarges images (e.g. 2×, 4×, up to 16×) by reconstructing fine details with deep learning. Magnific offers controls (creativity, resemblance, HDR, etc.) so designers can dial in the level of enhancement. We use it at the end to produce ultra-high-res, print-ready images.
Each tool plays a distinct role in the pipeline – from ideation to final output – ensuring a coherent and efficient workflow. We’ll now walk through a typical project, step by step.
1. Plan the Workflow in Weavy
Weavy’s node-based interface (here Figma Weave) lets designers sketch out the entire AI workflow and assign tasks to team members. Create a new workspace for your project. On the canvas, add nodes for each major step: for example, “Reve Ideation”, “Midjourney Render”, “Nano Banana Placement”, and “Magnific Upscale.” Label nodes clearly and draw connections to indicate the flow of data (images, prompts, parameters). Weavy supports integrating inputs/outputs and human decision points, so you can branch or loop as needed. For instance, you might have one branch that tweaks the Reve prompt, another that adjusts Midjourney style. Because Weavy (Figma Weave) treats AI tasks as modular components, the entire process becomes transparent and versioned.
In each node’s settings you can note parameters or upload reference images. For example, in the “Midjourney Render” node you might record the exact prompt used and output filenames. Weavy’s collaborative canvas ensures everyone on the team can see progress and propose refinements in context. As Dylan Field (Figma CEO) notes, this approach treats AI output as “not the final destination,” but a creative starting point to be sliced and remixed by designers. The interface above illustrates a sample workflow in Weavy: designer A starts with ideation, B generates renders, and C finalizes in Magnific, with feedback loops at each stage.
Tips for Weavy: Use descriptive node names (e.g. “HS_Chair_ReveIdeation”). Attach notes or short justification for each step. Take advantage of branching – if a Midjourney result is unsatisfactory, create an alternate branch with a new prompt. The visual flowchart aligns the team: you can see exactly when a concept moves from idea to image to placement to final output.
2. Concept Generation with Reve
Once the workflow is in place, begin the ideation phase. Open Reve (via its web or desktop app) to brainstorm product concepts. For example, if you’re designing a new luxury watch, start with a broad prompt like “Futuristic wristwatch with transparent gears, organic curves, and glowing accents.” Reve excels at following detailed prompts, so be specific about style, function, or theme. Iterate rapidly: each prompt gives you a set of concept images which you can refine or remix.
Use Reve to generate a variety of styles and ideas before settling on a direction. Ask Reve to focus on different materials or eras (e.g. “steampunk leather strap watch with mechanical dials, moody lighting”). Since Reve “produces images that meet both creative and practical requirements”, you can even include practical details like “incorporate a small solar panel” if it exists. Review the batch of outputs in Weavy: pick one or combine elements from multiple outputs. You might export a few top concepts and attach them to the workflow node for team feedback.
Best practices: Treat Reve outputs as sketches – they may lack polish or have minor artifacts, but they spark ideas. Use clear, concrete language. If certain words aren’t yielding the style you want, experiment with synonyms (e.g. “polished chrome” vs. “shiny metal”). Keep prompts relatively concise to avoid confusing the model, and iterate by adding or removing details. Always save your successful prompts in Weavy so they can be reused.
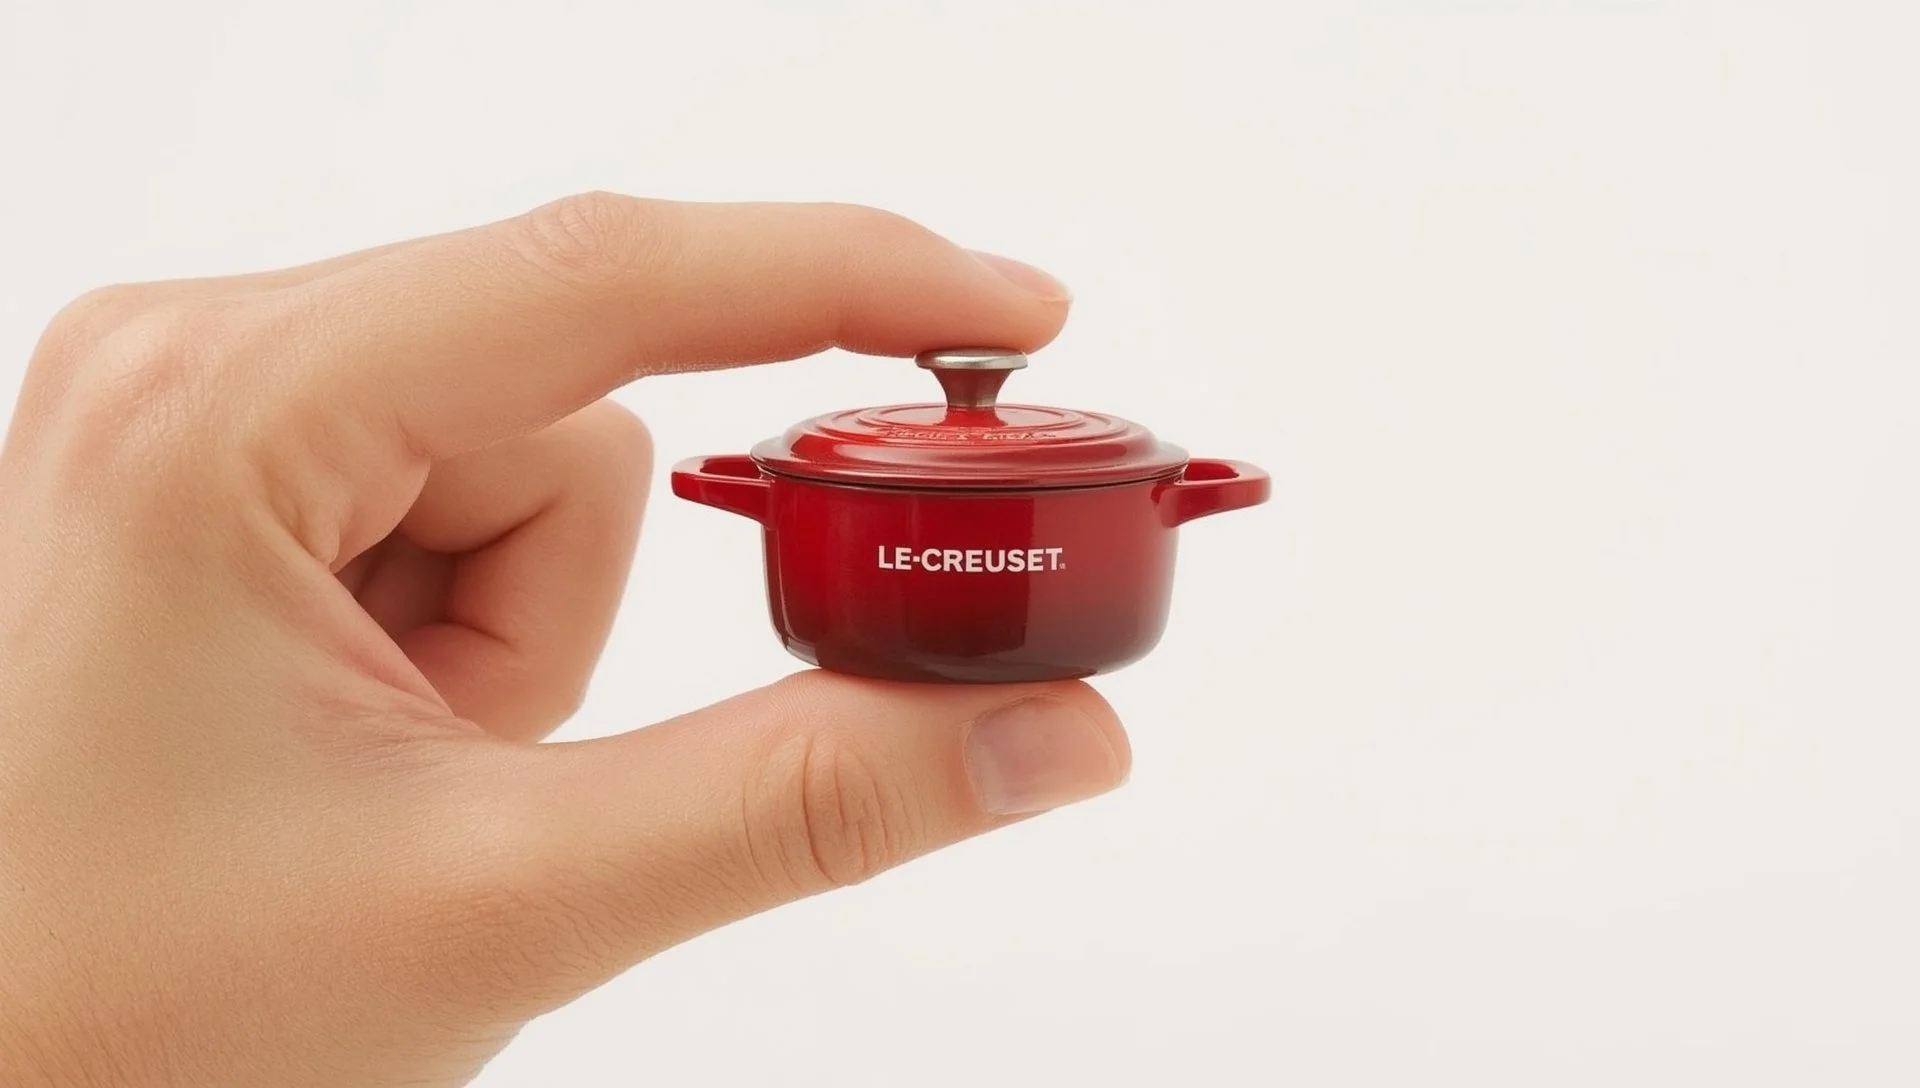
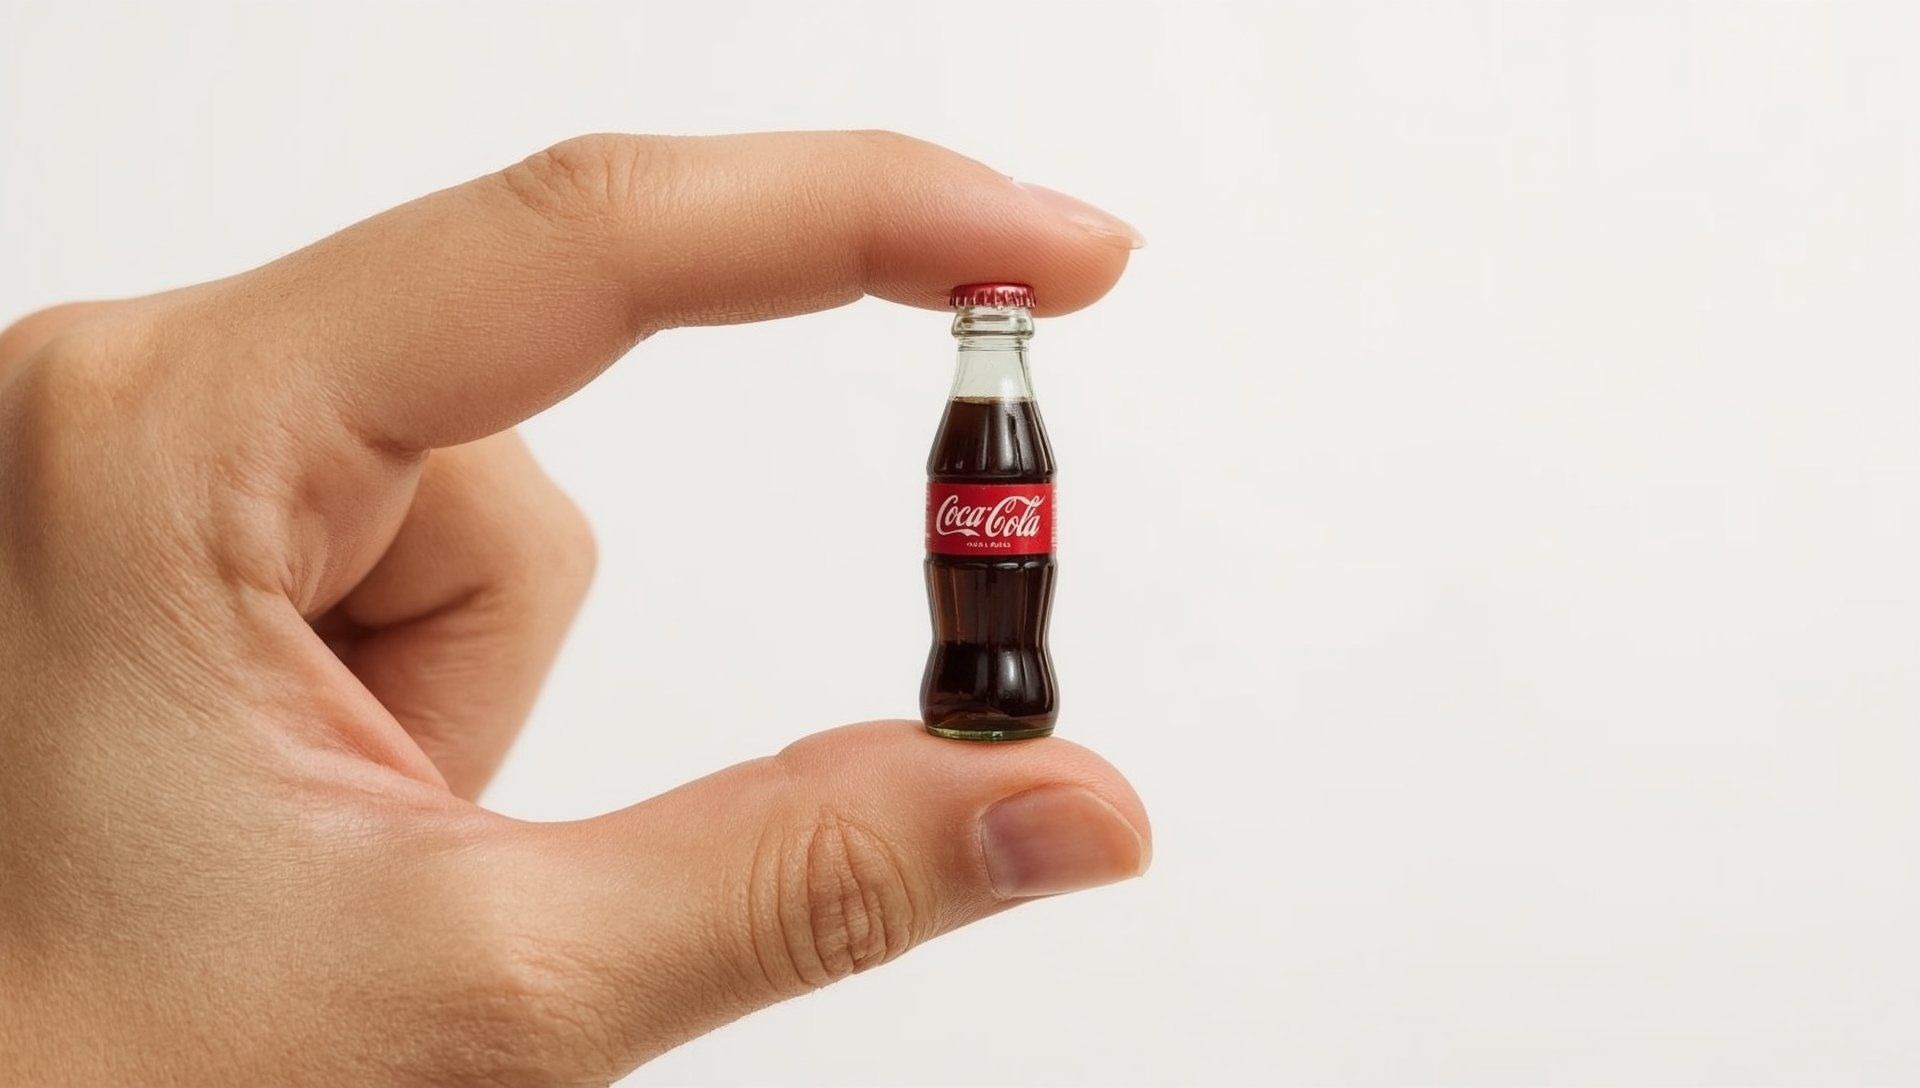
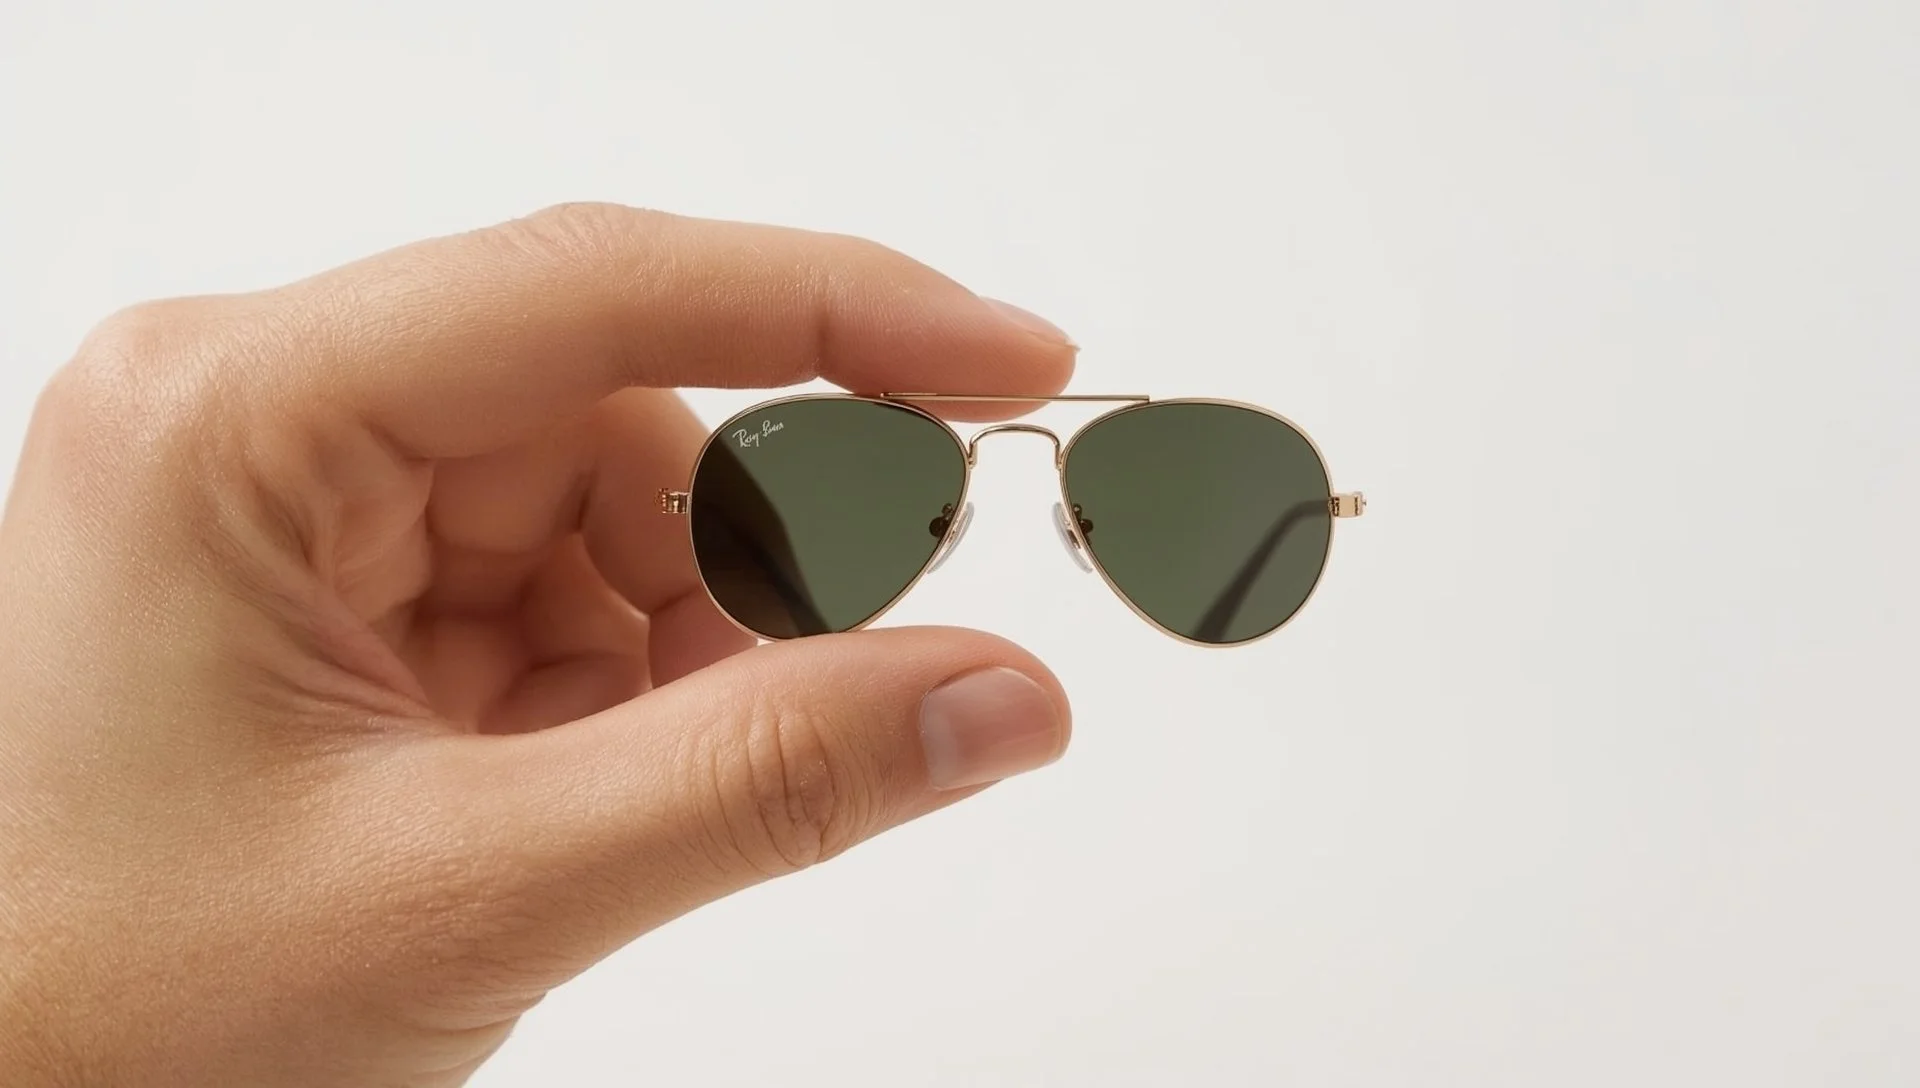
3. Generating Product Renders in Midjourney
After narrowing down your concepts, switch to Midjourney to create high-fidelity renders of the product. Midjourney runs on Discord or API and takes descriptive prompts. If our Reve concepts include a chosen design, use those as the basis. For instance: “Ultra high-resolution studio photograph of the futuristic wristwatch, front view, white background, soft directional lighting, 4K”. Emphasize photographic and style keywords – avoid terms like “photorealistic” as they can cause an overly artificial look. Instead use cues like “Studio lighting, product photography” for a realistic vibe.
Specify camera angles or composition for variety. For product shots, consider prompts such as “close-up macro shot” or “isometric view” depending on needs. The example prompts below from Midjourney’s own documentation illustrate effective phrasing:
“Macro product photography of sapphire smartphone, studio lighting, white background, --ar 4:3”
“High-end commercial photo of minimalist tea set on wooden table, soft natural light, --ar 3:2” (hypothetical)
Midjourney V5+ can generate very detailed images. After each generation, review the grid of 4 variations. Upscale (U) or make variations (V) of the best-looking ones. In Weavy, link the prompt and output image back to the “Midjourney Render” node, noting which variant you chose. You may run multiple passes: for example, one style node could produce glossy product shots, another matte or conceptual renders.
Midjourney tips: Incorporate style modifiers (e.g. “sleek,” “futuristic,” or even a known design era like “Art Deco”). Use aspect ratio flags (--ar) to fit your product shape. Avoid abstract art terms that don’t fit product design. Monitor the “chaos” or “stylize” parameters to balance creativity vs. strict realism. If the product has a logo or text, know that earlier Midjourney versions struggled with legibility, but you might get readable text by simplifying or leaving space for overlay later. Keep a consistent color theme across variants to maintain brand coherence.
4. Compositing into Context with Nano Banana 2
With a strong product render in hand, the next step is placing that product into a realistic scene. Nano Banana 2 (imagine an advanced AI editor, akin to Google’s Gemini-based image tools) excels at this. Upload your Midjourney image into Nano Banana. In natural-language, instruct it to embed the product where you want. For example: “Place this wristwatch on a marble countertop in a modern living room scene with daylight coming through a window.” The AI will preserve the product’s appearance while adjusting lighting, perspective, and background integration. As one description notes, Nano Banana “understands complex instructions like ‘place the creature in a snowy mountain’ or ‘imagine the whole face and create it’”, which applies to any object placement.
Nano Banana’s core advantage is scene preservation. It “seamlessly blends edits with original backgrounds” and is superior at it. For our watch example, it will match shadows and reflections so the watch looks naturally part of the new photo. Similarly, for a handbag design, you might tell it: “Put the handbag on the chair in a cozy office with warm lamp light.” Nano Banana can also work batch-wise: if you have multiple product images, you can process them in sequence (the site supports batch editing).
Because it can handle “object placement, style transfers, and character modifications”, you can get creative. For instance, you could have the product held by a model: “Place the watch on a man’s wrist (use provided person image), ensure the hand is rotated naturally.” Or combine several products: “Arrange these three tech gadgets (phones and earbuds) on a sleek office desk with morning light.” The model “excels at understanding contextual instructions like ‘place in a blizzard’” – simply adapt that phrasing to your scenario (blizzard → store shelf, etc.).
Thanks to its advanced AI foundation, Nano Banana 2 (especially the Pro version) supports multi-image merging and consistency. Google notes you can blend “up to 14 images and maintain the consistency of up to 5 people,” bridging concept art and photorealism. In practice, that means you could provide separate images – one of the product, one of a background – and the AI will merge them convincingly. For example, if designing a lounge chair, upload the chair render and a living-room photo; instruct “blend these into one scene.” The result will look like a professional product shot in a real interior.
Nano Banana tips: Start with a clean product cut-out if possible (use a transparent background Midjourney or remove background first). Use simple, imperative prompts like “place”, “add”, or “replace”, followed by the product name and the scene description. Reference the product image explicitly if needed (e.g. “place this black leather bag”). Check the result for unnatural artifacts: you may need to tweak the prompt or mask areas. The tool’s one-shot editing often gets it right immediately, but don’t hesitate to retry with adjustments (e.g. change time of day, angle). If you need to shift perspective, you can specify camera angles or say “low angle” / “top-down view.” Nano Banana also allows more surgical edits (e.g. change color or lighting) if the placement is correct but you need tweaks.
By the end of this stage, you should have an image of your product in context – a lifestyle shot that could be used in marketing materials or ideation discussions. For instance, a new jewelry piece might now appear on a marble vanity with flowers, or a gadget on an architect’s desk, depending on the prompt.
5. Enhancing Resolution with Magnific
The images generated so far (especially Midjourney outputs) may be limited in resolution (typically up to 1024–2048px). To create print-ready visuals or detailed online mockups, we use Magnific to upscale and refine. Magnific is more than a traditional enlarger – it uses AI to intelligently fill in details. Visit Magnific.ai, choose the Magnific upscaling mode, and upload your scene-placed image.
First, decide scale factor. For most product images, a 2× or 4× upscale is sufficient, preserving crispness without needing enormous size. For example, if Midjourney gave you a 1024px width image, 2× yields 2048px – still editable – and 4× gives 4096px. Use 8× or 16× only for very large prints (billboards) or if the original was tiny. The Freepik guide suggests: “2X or 4X works best for minor upgrades where you need a sharper, high-quality image without excessive size increases”, and that’s often ideal for digital portfolios or client presentations.
Next, choose a preset. Magnific offers presets like Subtle, Vivid, Wild, or Custom. For product photography, Subtle is usually best: it focuses on clarity and sharpness without adding overly “artistic” details. Vivid can enhance textures and colors if your product image is an illustration or 3D render that should “pop” more. If you enjoy creative flourishes (e.g. stylizing a concept art), Wild adds dramatic detail (but risks changing the look too much). Often Custom is ideal: it lets you set the four sliders:
Creativity: controls how many new details the AI hallucinates. A moderate value (~50%) adds detail without distortion.
HDR: increases contrast and sharpness; useful if the photo looks flat.
Resemblance: at 100% it stays faithful to the original; lower it if you’re missing definition and want more AI reconstruction.
Fractality: adjusts texture complexity (higher means sharper texture).
For a product shot, I’d start with Resemblance high (to preserve the exact design) and gradually raise HDR or creativity if the result seems overly smooth. A good workflow: try 4× upscale with Subtle preset first, compare the result. If fine details (logos, stitches, etc.) are still a bit soft, slightly increase Creativity or Fractality. Magnific’s FAQ notes you can guide it with text too, but the sliders give fine control.
Finally, select an optimized mode. Magnific can tune itself for the image type. For a photograph of a product or a person, use “Portrait” to preserve natural textures. For a digital concept or illustration, choose “Art & Illustrations” to enhance lines and colors. (Magnific has modes like Videogame, Nature, etc., but typically “Art/Illustration” or “Photography” are enough). Then run the upscale.
After processing, inspect the image. Zoom in to check for artefacts: occasional issues (e.g. strange colors or patterns) can often be fixed by toggling sliders and reprocessing. Magnific’s team warns high Creativity can introduce hallucinations, so dial it back if faces or text look off. Once satisfied, export the final image. You now have a 4K-resolution (or higher) product shot, crisp and polished.
6. Workflow Integration and Iteration
Throughout these steps, use Weavy to track and refine. After each tool, upload outputs back into the corresponding node as attachments or comments. For example, after Midjourney, add the chosen render to the “Midjourney Render” node. After Nano Banana, attach the composited scene. This creates a history: at any time you can revert to a previous node, clone it, and try alternative paths (e.g. different Midjourney styles or Nano Banana scenes). This ensures nothing is lost and decisions are documented.
Invite collaborators to review intermediate results in Weavy. They can add comments on nodes, vote on options, or adjust parameters. If the client wants a design in a different color or setting, you can branch from the Reve or Nano Banana stage rather than starting over. The structured workflow reduces confusion and keeps everyone aligned on the project status.
Best Practices and Tips
Craft precise prompts: The quality of AI output hinges on your prompts. For Midjourney and Reve, include style cues and context. As one guide suggests, “avoid using terms like ‘photorealistic’… Instead, terms like ‘Studio Lighting, Product Photography’ can be more effective”. If the product has specific materials or inspirations, mention them (e.g. “Inspired by Bauhaus design”). In Reve, include adjectives like “sleek,” “ergonomic,” or “sustainable materials” as needed.
Maintain consistency: When generating multiple images (e.g. a line of products), use a consistent style prompt to unify them. Weavy can help here: reuse and share the same prompt text to ensure uniform aesthetics. In Midjourney, you might pin certain style modifiers (like
--stylize 1000) across prompts.Use reference images: Many tools accept an input image. Providing a sketch or silhouette of your product to Midjourney or Reve can greatly improve accuracy. For example, attach a CAD render as a reference and say “redesign this in [style]”. Nano Banana especially benefits from a clear product image for placement.
Iterate in small steps: If a result is close but not perfect, tweak incrementally. For upscaling, avoid jumping to 16× unless necessary. For compositing, adjust lighting or angle slowly. Weavy’s branching lets you parallelize attempts (e.g. one designer tries a new Midjourney style while another refines placement).
Mind the background: When placing products, ensure the background doesn’t distract. If necessary, use Nano Banana’s background remover first, then place on a simpler scene. Or choose a scene where the product’s color contrasts well.
Check scale and perspective: In placement prompts, specify the relative size of the product (e.g. “life-size,” “dollhouse scale,” etc.) and perspective (e.g. “table height view”). Nano Banana generally does well, but being explicit prevents the product from looking too big or small in context.
Refine with manual touch-ups: After all AI steps, a quick manual edit (in Photoshop or Figma) can fix any small issues (misplaced shadow, minor artifact). This is often easier than forcing the AI to correct minor flaws.
Backup originals: Keep an archive of the original generated images before upscaling or editing, in case you need to try a different approach. Weavy nodes can hold these assets.
Leverage community resources: Look up prompt guides for specific categories (for example, the fashion Midjourney prompts list) and adapt successful prompts. Many designers share their best prompts for products online.
Respect IP and rights: If your product design uses copyrighted elements, be mindful of license agreements of these tools (e.g. check Midjourney’s terms). Always use images you have rights to, especially for commercial use.
Use Cases Beyond Jewelry
While jewelry often serves as an example in AI design demos, this workflow applies to any product category. Below are illustrative scenarios:
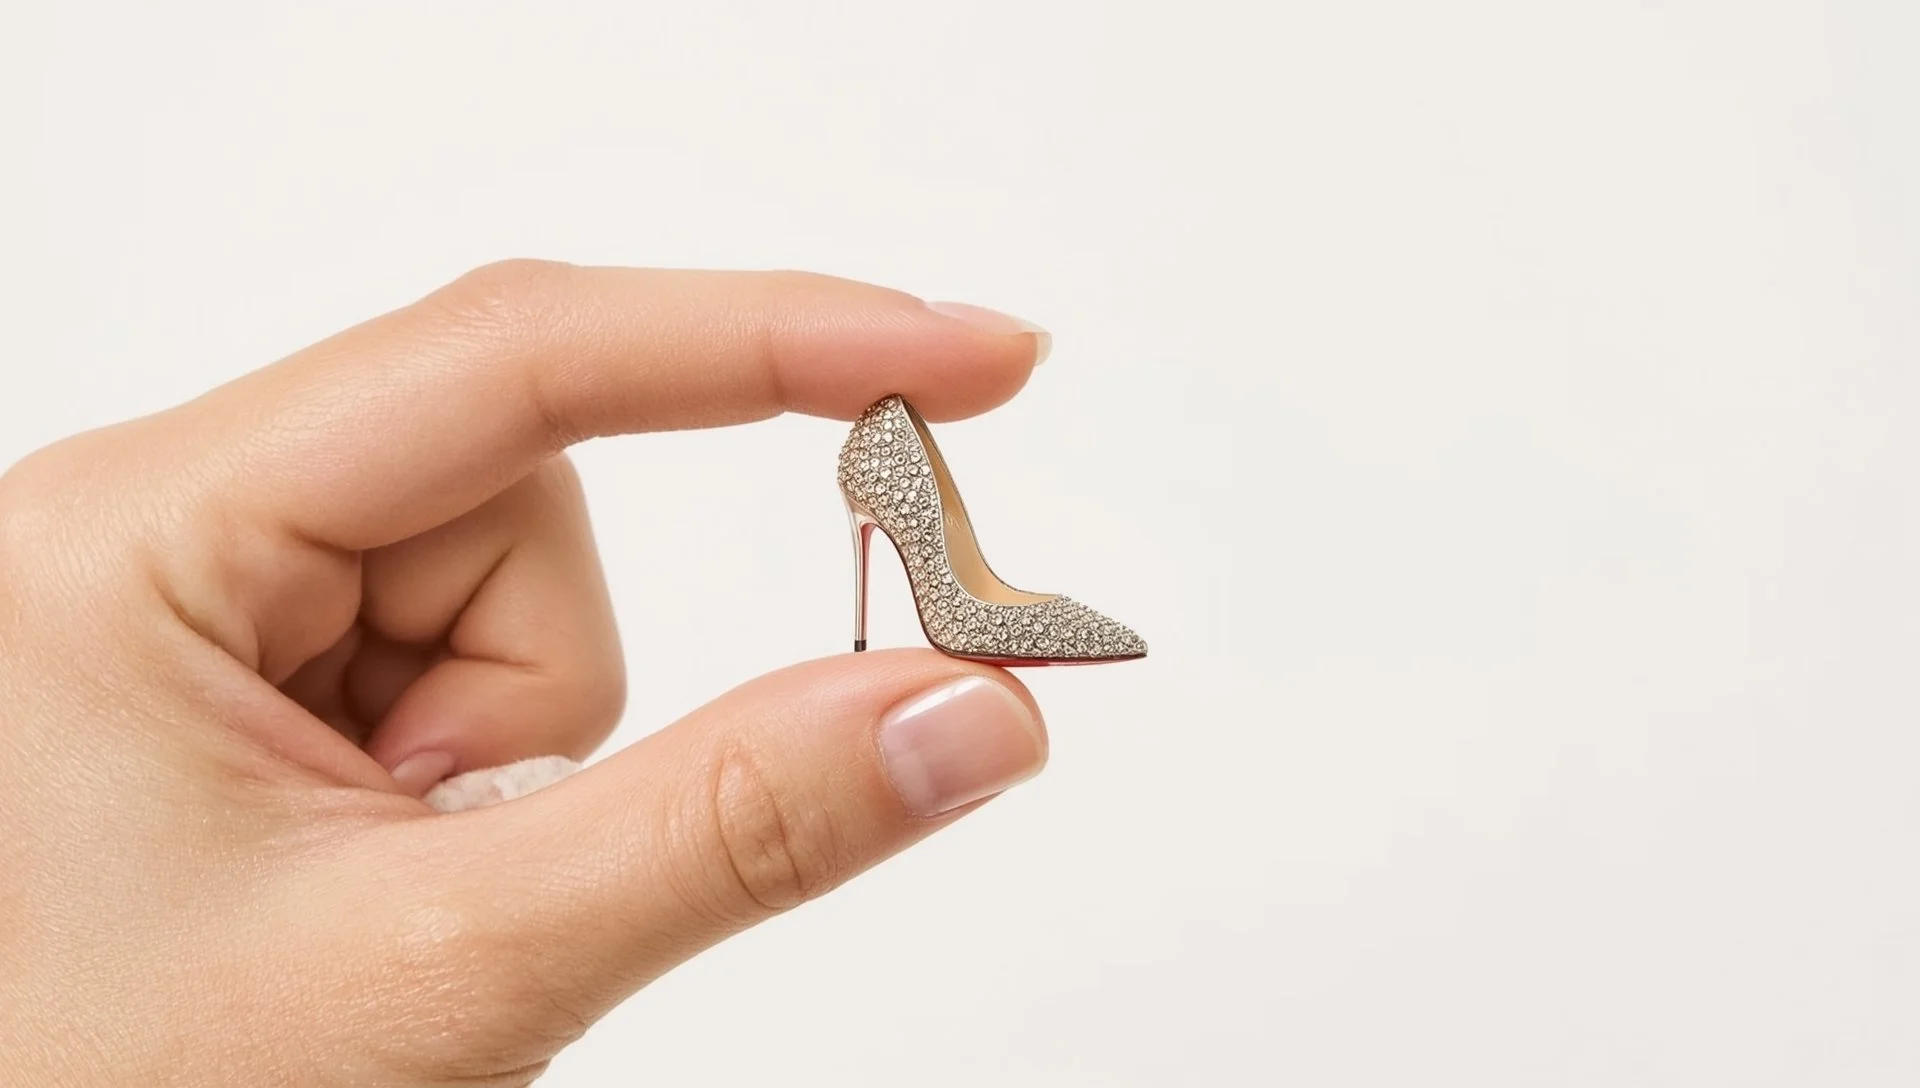
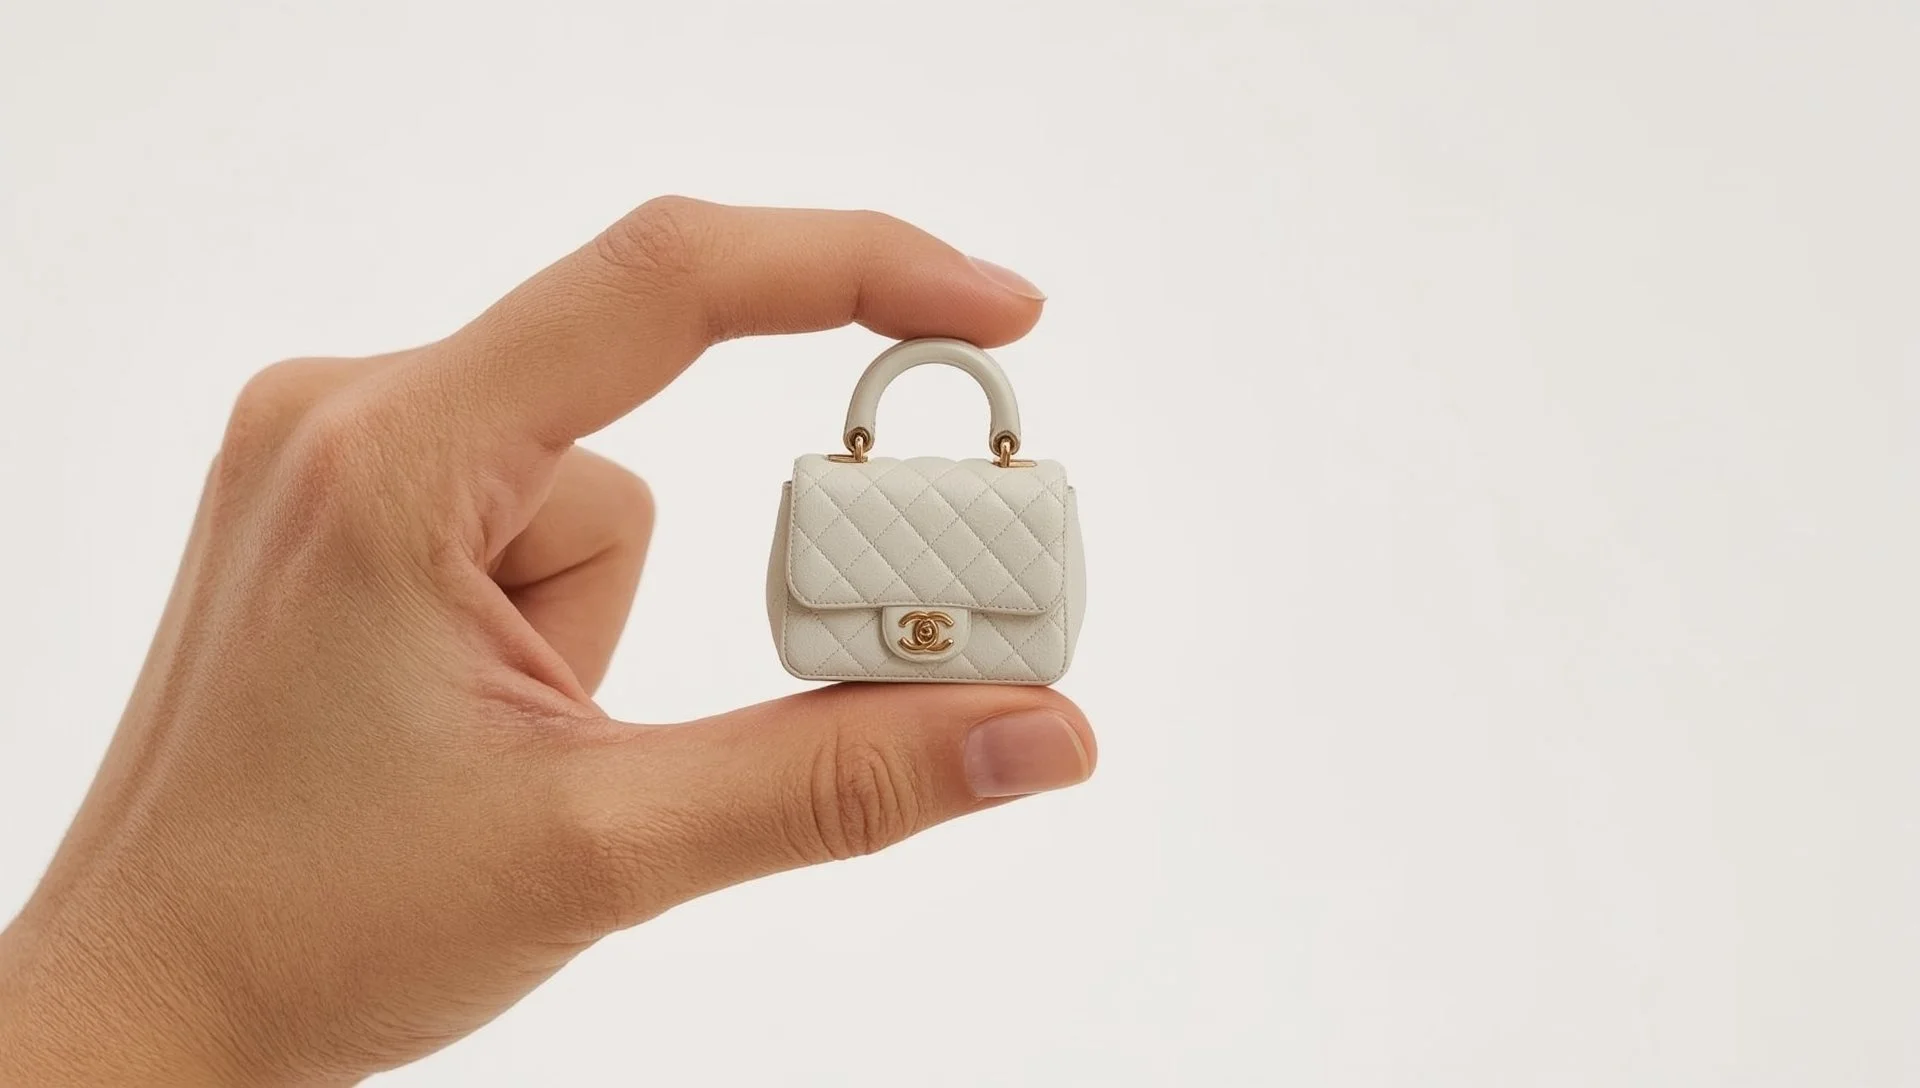
Fashion Accessories: Example: A design team creating a new line of designer handbags.
In Reve, generate avant-garde purse shapes and patterns (“concept art of futuristic leather clutch with origami folds, neon trim”).
Refine the best designs in Midjourney as glossy studio shots.
Use Nano Banana 2 to place the chosen bag on a model or in a boutique setting (e.g. “place on a mannequin’s shoulder against a city street background”).
Upscale with Magnific, selecting the “Portrait” optimization for the human subject and “Vivid” preset to make textures pop. The result: a realistic campaign image of the handbag in a lifestyle context.
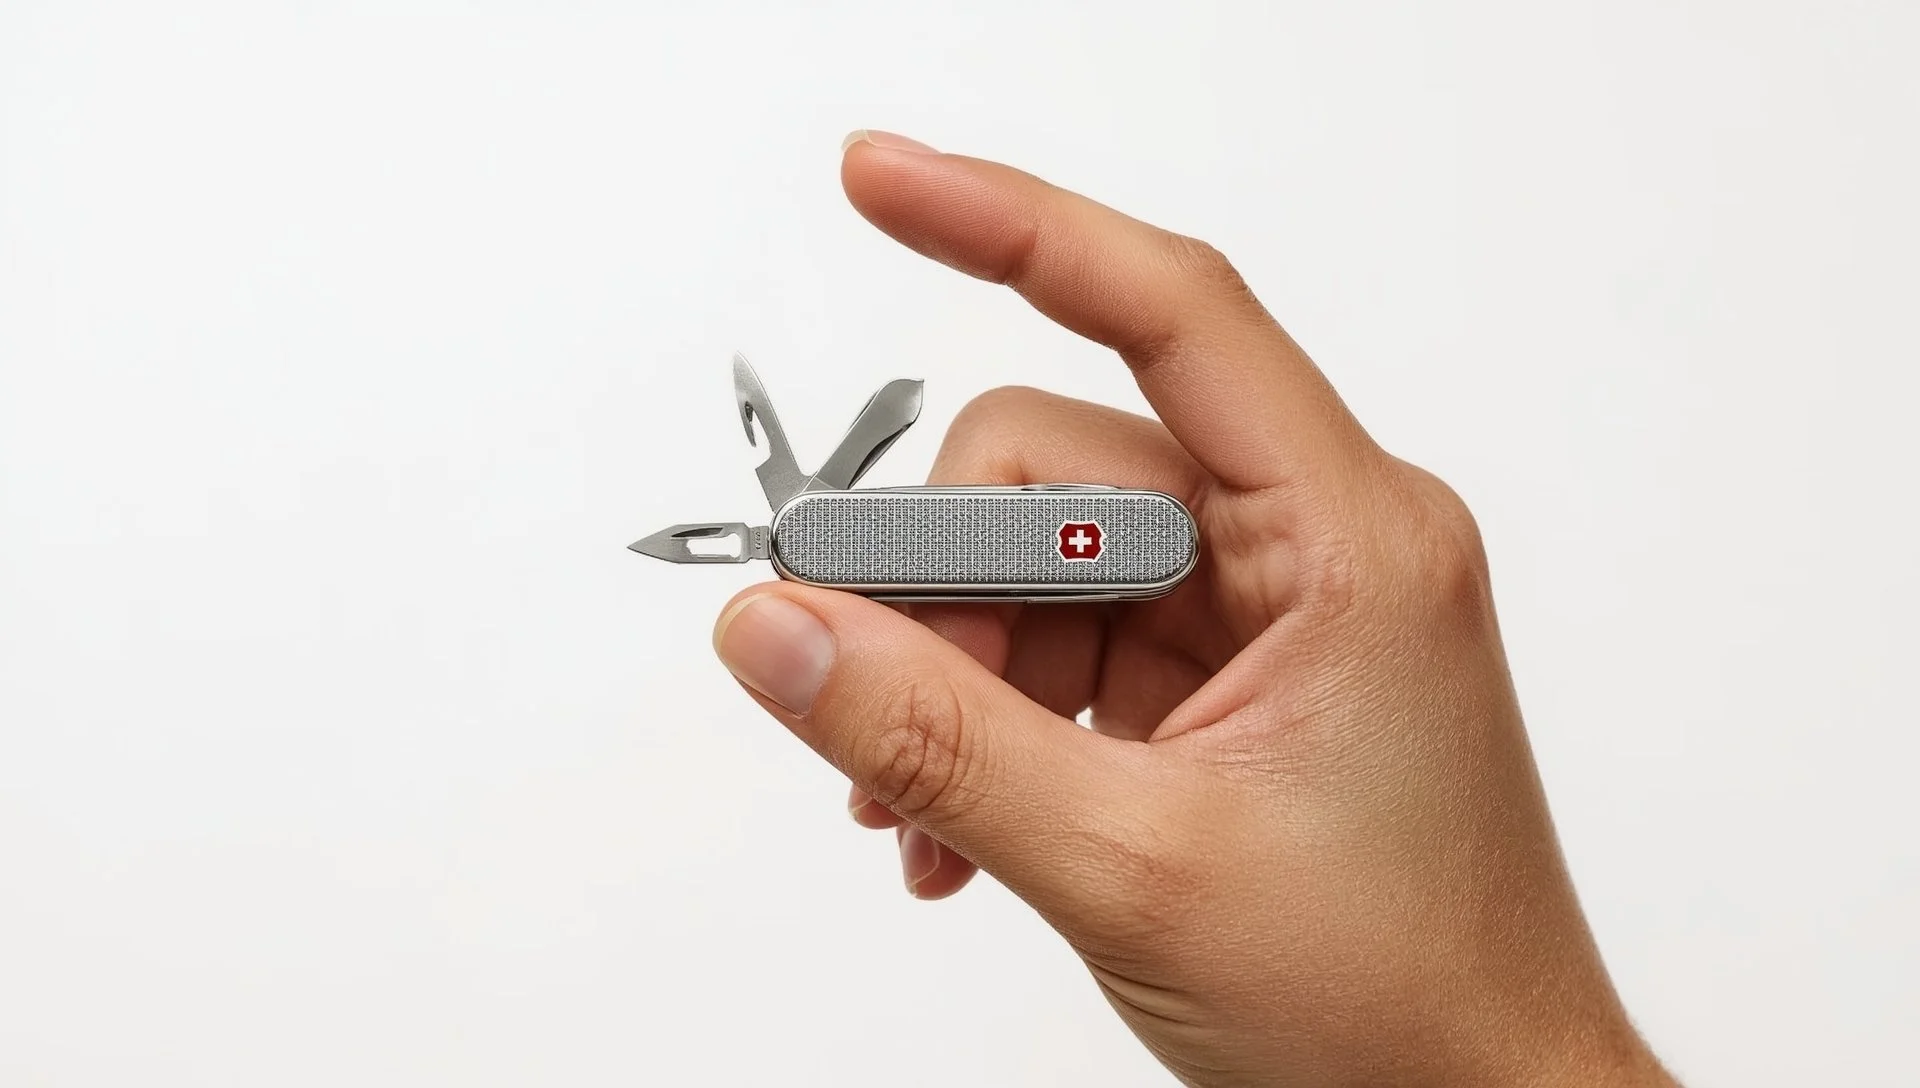
Tech Gadgets: Example: Conceptualizing a new smart home device.
Ideate with Reve: “smart speaker with wood veneer and LED light ring, minimalist design”.
Render product angles in Midjourney (e.g. top-down view, front view). Use tags like “photorealistic product photo, white background, 8k”.
In Nano Banana, place the speaker on a living room shelf or desk, using prompts like “on a modern office desk with morning sunlight”. For consistency, ask for the same wood texture to match both the render and scene.
Upscale 4× with Magnific, using “Subtle” preset to keep it realistic. Adjust “Resemblance” high so the material textures stay true.
Home Decor: Example: Designing a new lamp or chair.
Create variants in Reve: “mid-century armchair with plush green velvet and teak legs, 1960s style”. Try color and pattern swaps easily.
Render the chosen variant with Midjourney as a clean shot.
Composite it in Nano Banana into a stylized interior: “place the armchair in a sunlit corner of a Scandinavian living room”. If you have actual room photos, use them as background input.
Finally, use Magnific to enhance details like fabric nap and lighting contrast, picking “Art & Illustration” mode if it started as a render. The final image can go into an interior design portfolio or product catalog.
In each case, the mix-and-match capability of the tools is key. For a gadget line, you might generate product images first, then batch place them into various smart-home scenes. For fashion, you may alternate between designing new styles and visualizing them in context. The workflow is flexible: you can skip or loop steps as needed. The guiding principle is to always contextualize the AI outputs to ensure they serve the design goals and look intentional.
By integrating these AI tools, designers can accelerate the iterative loop of sketch → render → review → refine, with minimal manual drudgery. The result is a set of cohesive, high-quality visuals ready for stakeholders, far faster than traditional methods.
Conclusion
The synergy of Weavy, Reve, Midjourney, Nano Banana 2, and Magnific delivers a powerful end-to-end design pipeline. You can iterate on product ideas, create eye-catching visuals, and prepare production-ready images with unprecedented speed. Key success factors include careful prompt engineering, maintaining a consistent aesthetic, and using Weavy to orchestrate the process. Beyond jewelry, this approach applies to any category — from couture handbags to cutting-edge gadgets to ambient home furnishings — enabling designers to explore bold concepts and see them realized almost instantly.
As AI tools continue advancing, designers who master such workflows will be able to push creative boundaries while retaining control over quality. Remember, AI is a collaborator: use its “artistic intelligence” to expand your toolkit, and sculpt its outputs with your own vision. With practice, the techniques outlined here will become second nature, helping you build innovative products and stunning visuals that stand out in the market.